Table of Contents(4 sections)
Evidence status: researched
Polycarbonate headlight restoration procedures detailed here follow 3M Automotive Aftermarket Technical Data Sheets and Sylvania automotive lighting restoration instructions.
Why do modern car headlights turn yellow and hazy?
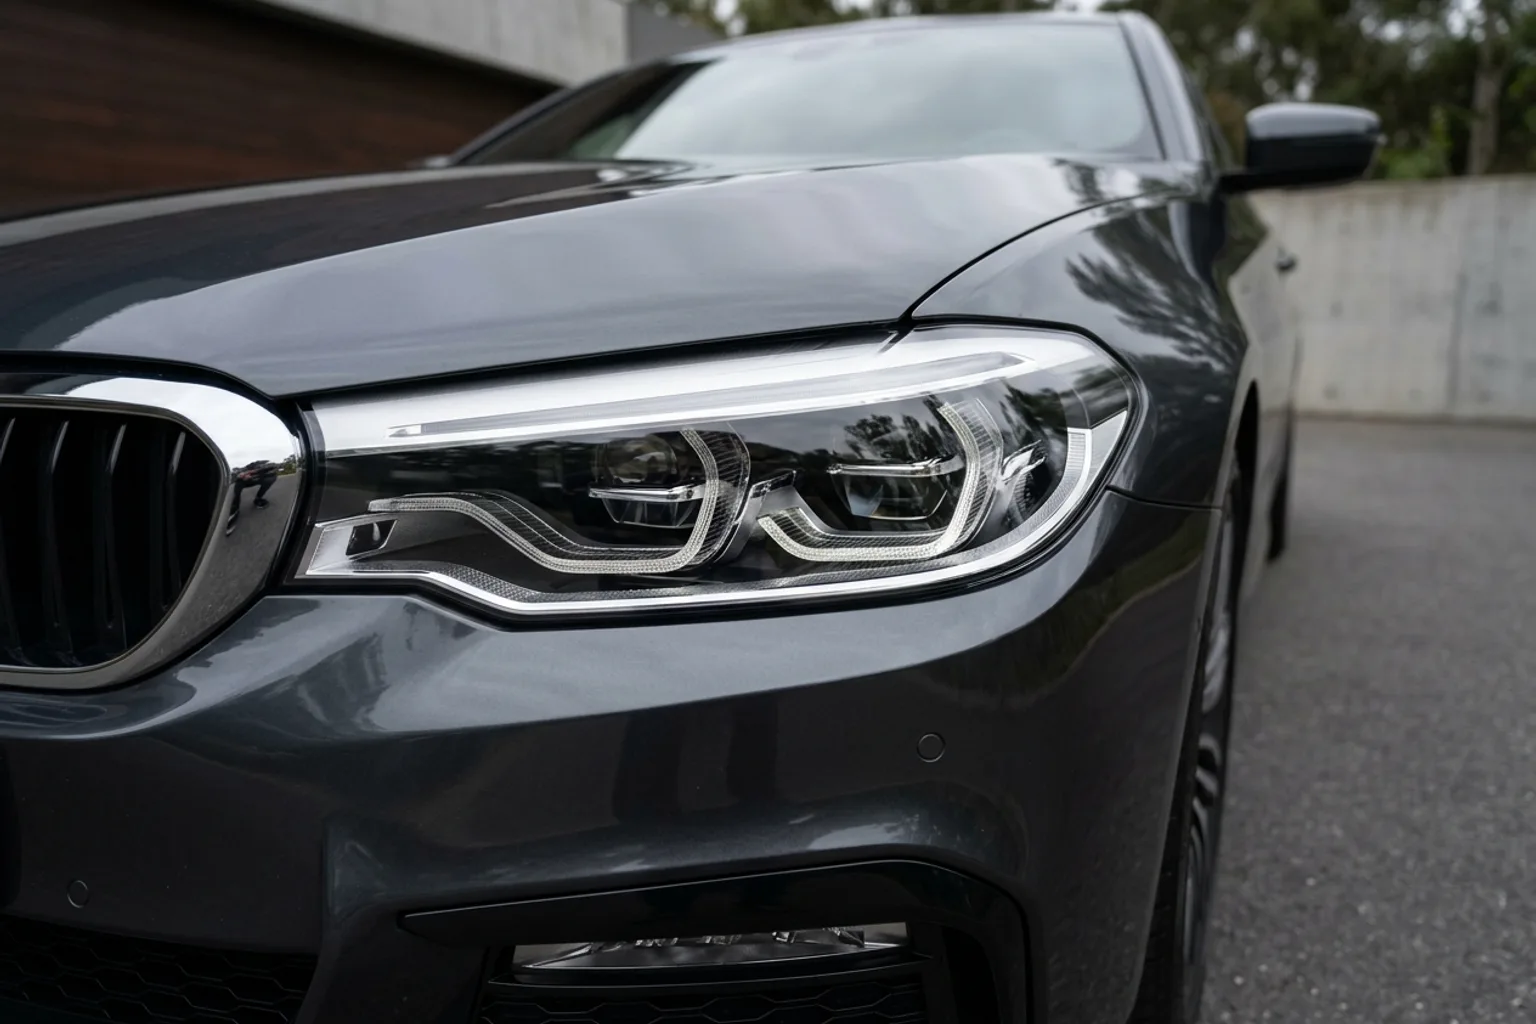
Automotive headlight lenses are molded from transparent polycarbonate plastic, which is shatterproof but highly sensitive to solar ultraviolet (UV) radiation. Factory lenses are sealed with a thin sacrificial UV-cured clear coat. Over 3 to 7 years, exposure to sunlight, acid rain, and road abrasives degrades this coating, causing it to oxidize, yellow, and develop micro-cracks that scatter headlight beam output.
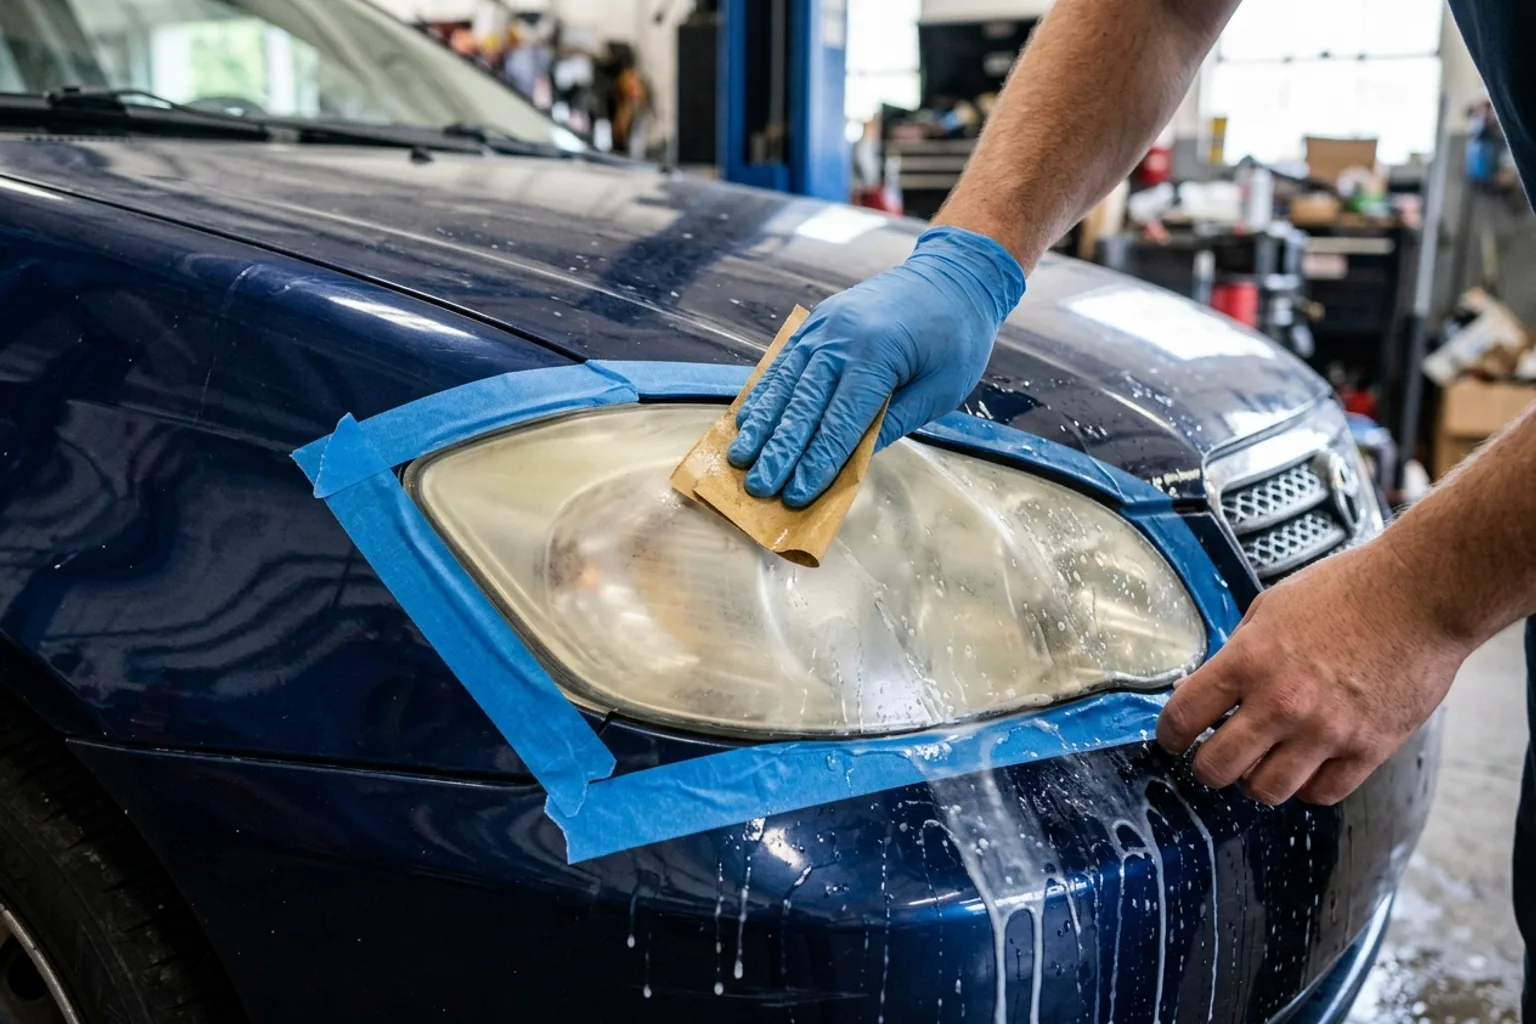
What is the complete 5-step headlight restoration protocol?
The 5-step permanent headlight restoration protocol
5 stepsThorough cleaning and perimeter masking
Wash the headlight lens thoroughly and apply two layers of heavy-duty automotive masking tape around the painted bumper and hood edges.
Coarse wet sanding (800 or 1000 grit)
Lubricate with soapy water and sand horizontally until all yellowed, peeling factory clear coat is completely stripped, producing milky white runoff.
Refining wet sanding (2000 and 3000 grit)
Sand in vertical cross-hatch passes using 2000 grit, then finish with 3000 grit until the lens feels satin-smooth with uniform micro-abrasions.
Machine compound and polishing to optical clarity
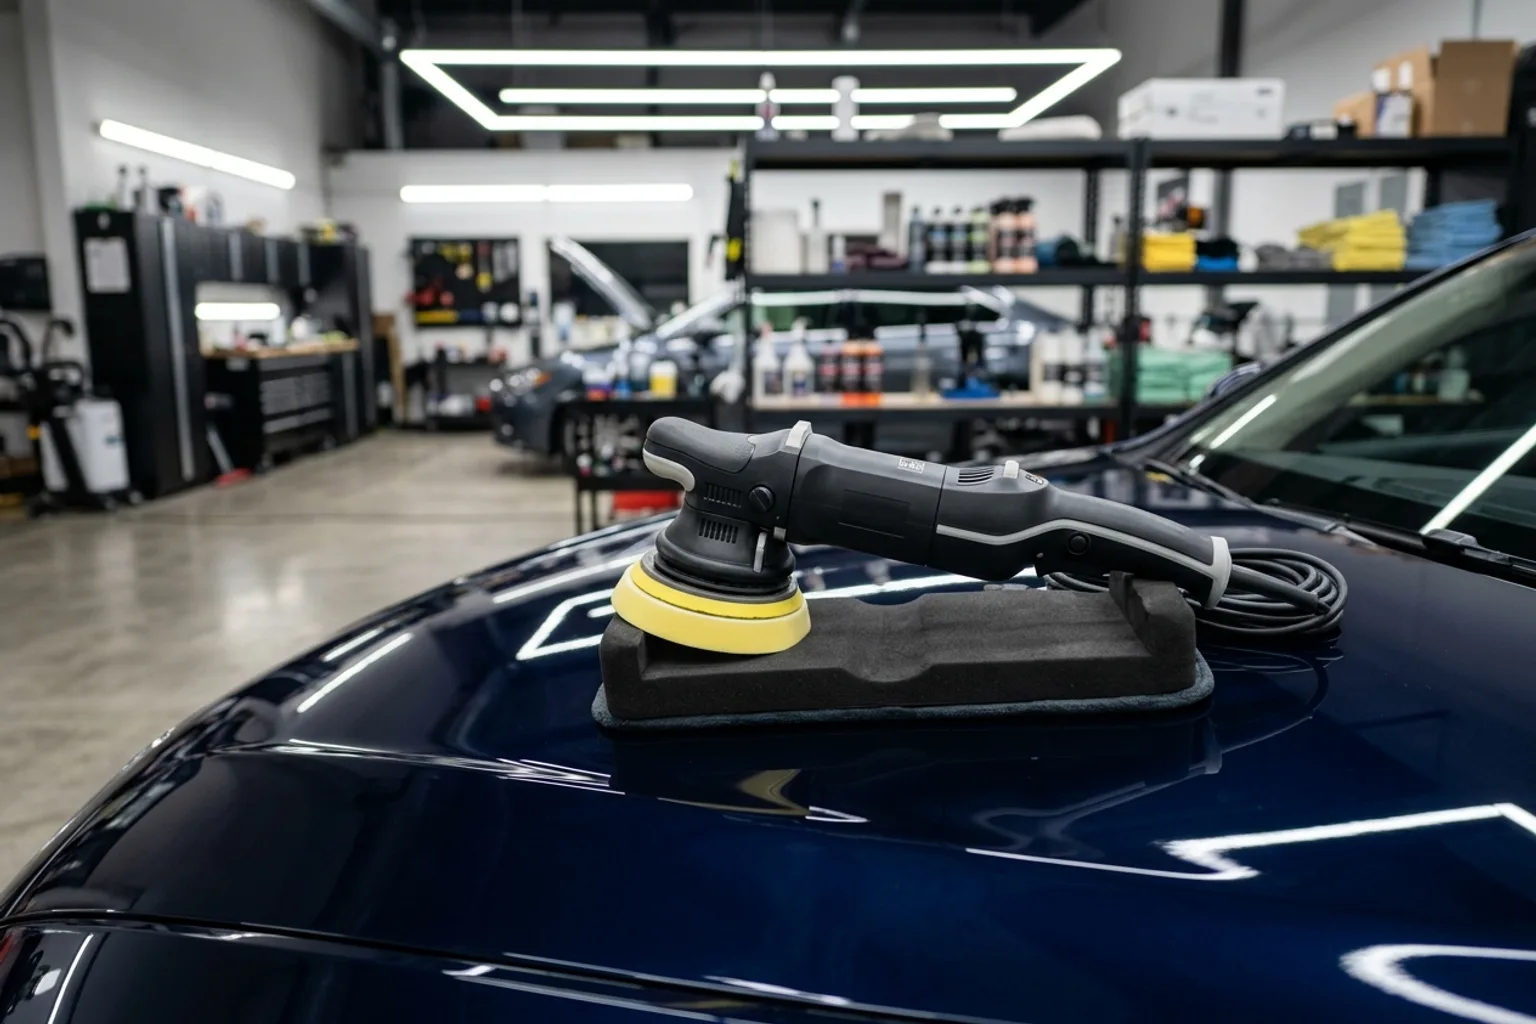
Use a mini DA polisher or wool pad with plastic compound to eliminate 3000-grit sanding marks and restore full optical lens clarity.
Applying the new UV-blocking clear coat seal
Degrease lens with isopropyl alcohol and apply a dedicated UV-curing wipe or 2K aerosol clear coat in smooth, overlapping single-pass strokes.
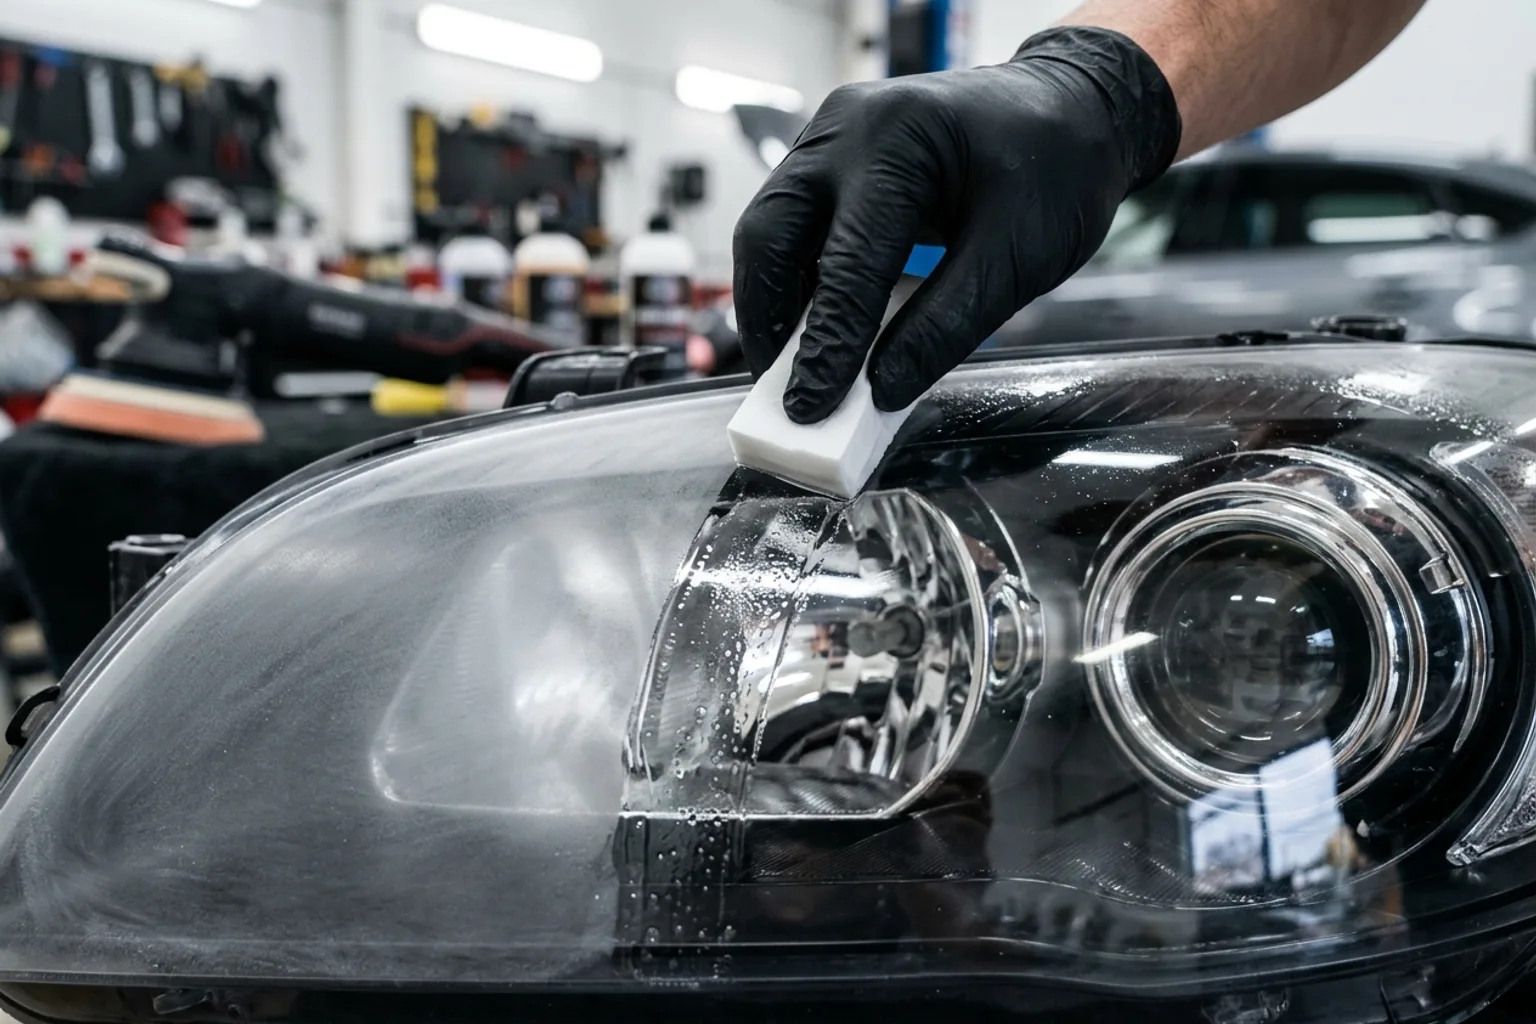
Why do toothpaste and quick polish kits fail within weeks?
Household hacks like toothpaste or quick polish wipes contain mild abrasives that temporarily scrape off surface haze. However, because they do not sand away degraded substrate layers or apply a durable UV-blocking clear coat, the raw, unprotected polycarbonate oxidizes faster than before, often yellowing within 3 to 6 weeks.
Respirator warning for 2K clear coats
If you choose a professional 2K two-part aerosol clear coat for maximum headlight longevity, wear a NIOSH-approved organic vapor respirator and work in a well-ventilated space. 2K paints contain toxic isocyanates.
Straight answers
Frequently Asked Questions
Answers based on the evidence and sources identified in this article.
Does headlight restoration pass vehicle road safety inspections?
Yes. Restoring hazy headlights can recover up to 70% of lost lumen beam output, restoring correct beam projection patterns and satisfying highway safety inspection visibility mandates.
Can you sand headlights with a power drill?
Yes, provided you use low RPM (under 1200 RPM) and keep the sanding disc constantly lubricated with water. Excessive drill speed builds localized friction heat that melts polycarbonate plastic.
How long does a proper headlight restoration last?
A restoration finished with a dedicated UV wipe typically lasts 1 to 2 years. Using a professional 2K automotive urethane clear coat can match factory durability, lasting 3 to 5+ years.
Where to buy
Recommended Gear in this Guide
Active 2.0 1800 PSI 2.0 GPM Pressure Washer
Our lab-tested standard for safe automotive flow and pressure.
DetailRig is reader-supported. Recommendations follow each page's evidence label (tested, used, or researched), and we never accept paid placement. When you buy through our links, we may earn an affiliate commission at no extra cost to you.
References & Sources
- 3M Automotive Aftermarket Division: Headlight Lens Restoration System Protocol (3m.com)
- Sylvania Automotive Lighting: Headlight Restoration Kit Instructions & UV Science (sylvania-automotive.com)
- National Highway Traffic Safety Administration (NHTSA): Automotive Headlamp Beam Degradation Studies

DetailRig Editorial
ContributorResearch publication
DetailRig Editorial publishes source-linked car-care explainers. These articles synthesize manufacturer instructions and clearly separate research from documented hands-on testing.