Table of Contents(4 sections)
Evidence status: researched
This instructional guide compiles manufacturer operation manuals from Rupes, Griot’s Garage, and Meguiar’s. While chemical formulations vary, dual-action safety principles remain universal across standard random orbital platforms.
What makes a dual action polisher safe for beginners?
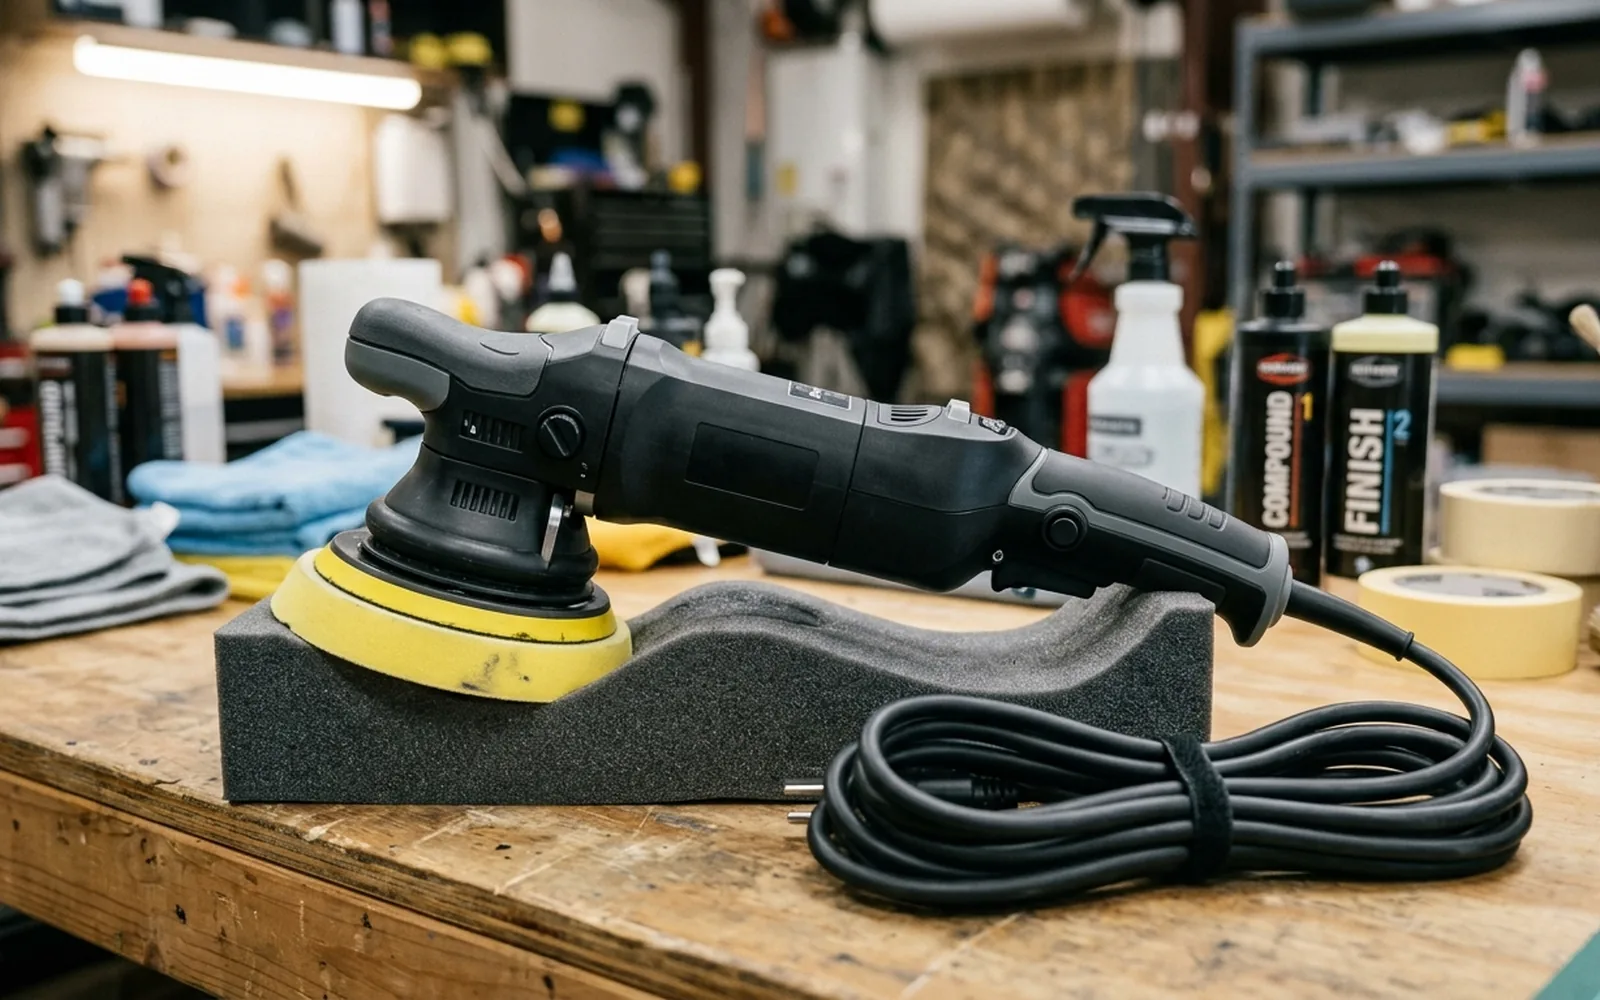
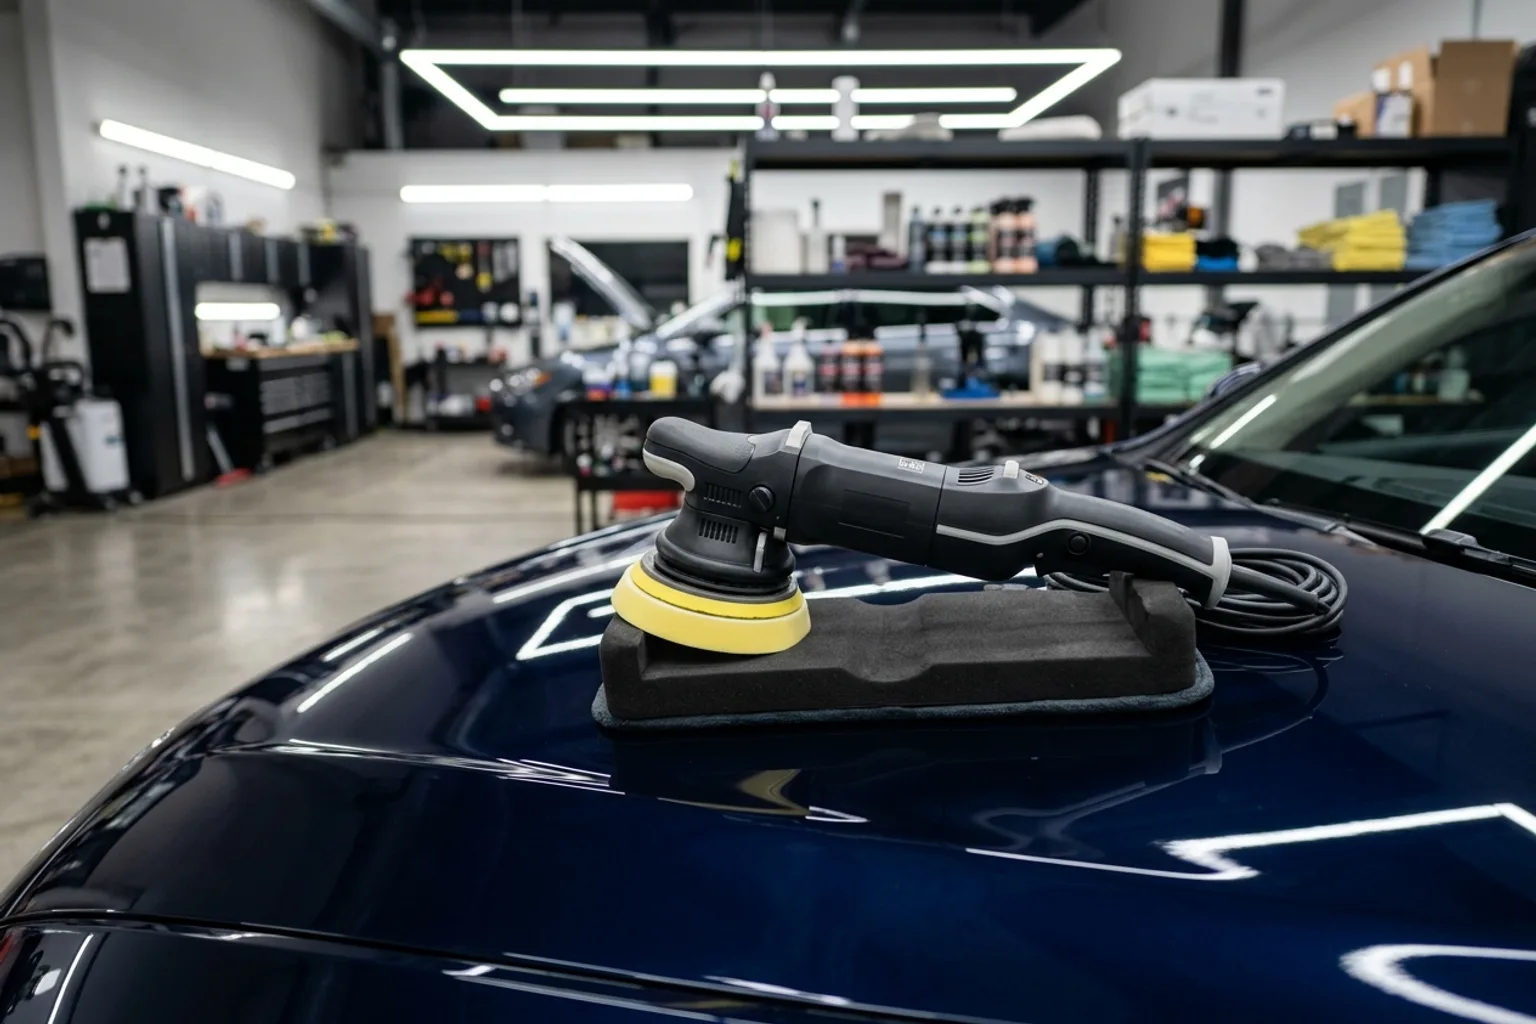
Unlike rotary polishers that spin on a fixed axis and generate concentrated thermal friction, a dual action (DA) polisher oscillates and rotates simultaneously. If you apply excessive downward force or angle the pad onto a body crease, the backing plate stalls, preventing friction burns through clear coat.
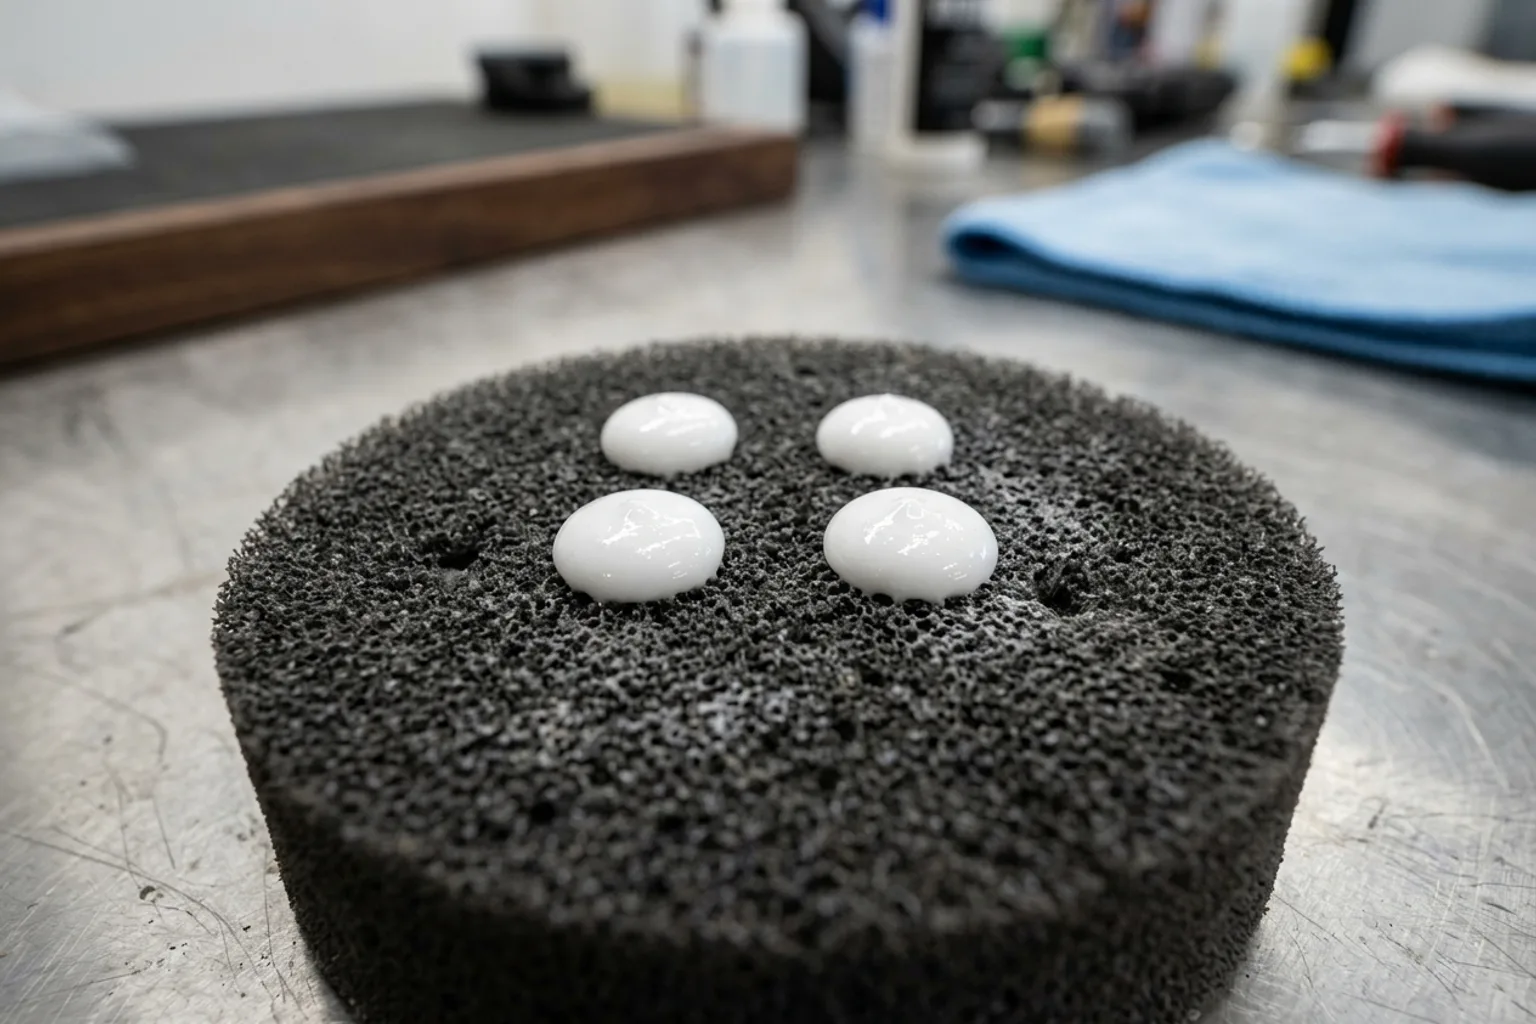
How do you perform a proper test spot?
Never compound an entire vehicle without testing. Clear-coat hardness varies dramatically between vehicle manufacturers. German ceramic clear coats require firmer pads and denser abrasives, while Japanese paints are frequently soft and require mild finishing polishes to avoid micro-marring.
The 5-step test spot procedure
5 stepsSelect a representative panel
Choose an inconspicuous, flat area on the hood or trunk lid approximately 20x20 inches, masked off with delicate surface tape.
Start with the least aggressive combination
Begin with a medium polishing pad and finishing polish rather than an aggressive cutting compound to preserve factory clear coat thickness.
Execute 4 to 6 section passes
Spread product on speed 2, increase to speed 4–5, and complete overlapping horizontal and vertical passes at 1 inch per second.
Wipe down with alcohol or panel prep
Remove carrier polishing oils using a clean microfiber and dedicated panel prep to inspect actual defect removal rather than masking fillers.
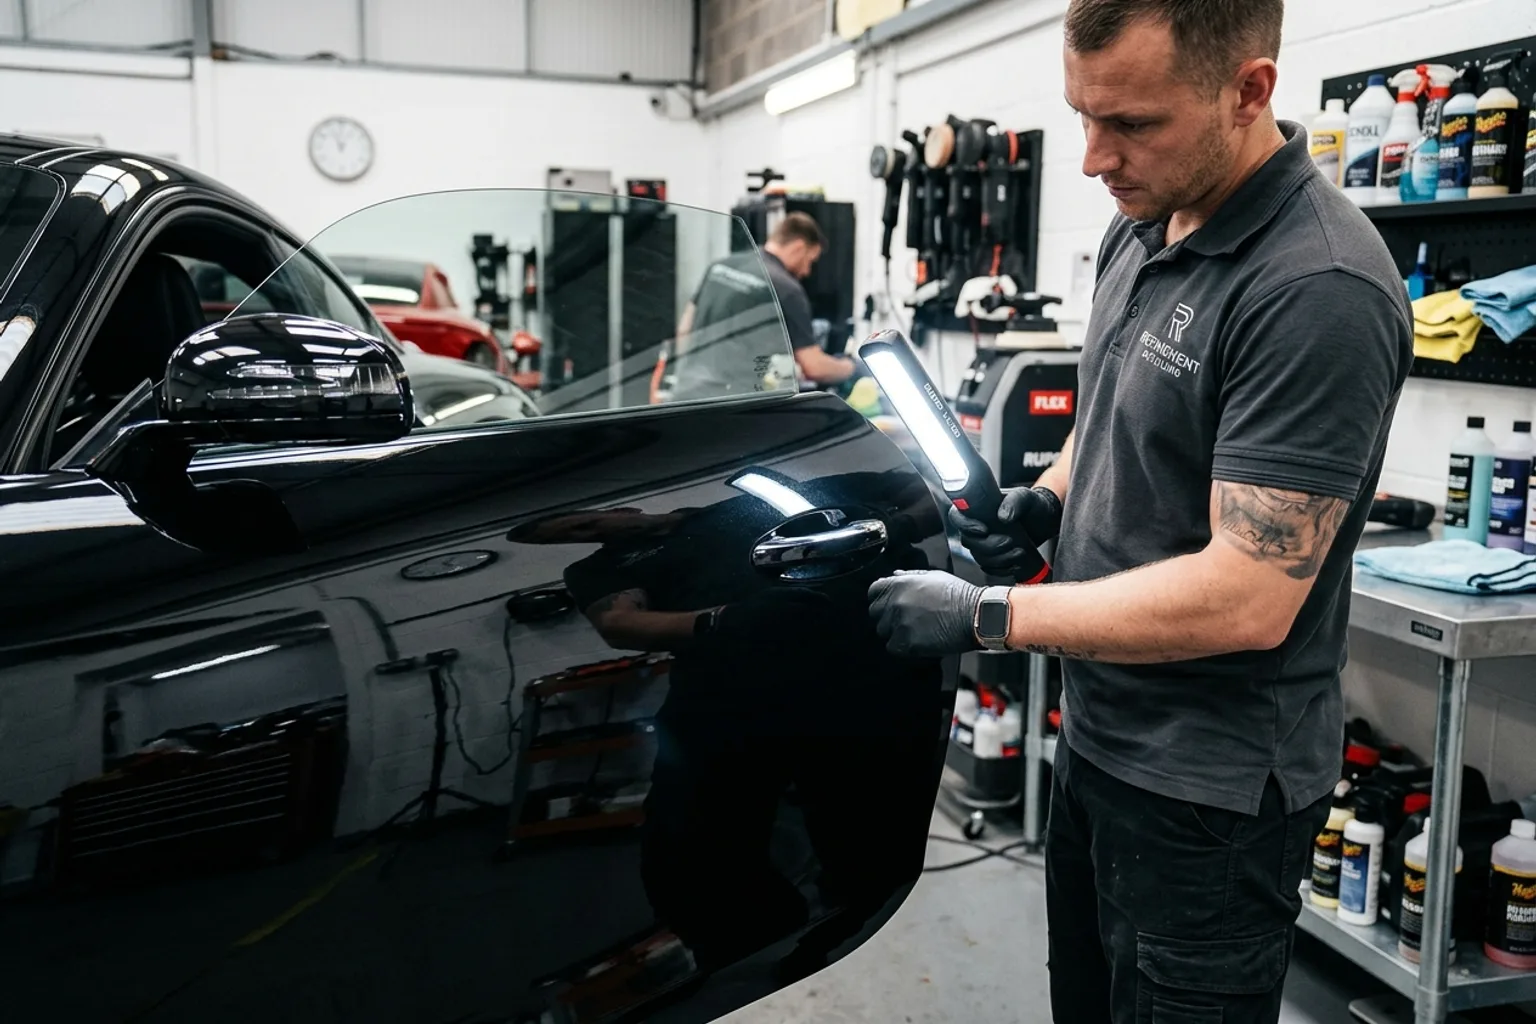
Evaluate under inspection light
Inspect under a high-CRI light. If swirl marks remain, step up pad density or compound cut; if paint is clear, lock in that combination.
What machine speeds and arm movements should you use?
| Detailing Task | Dial Setting | Downforce Pressure | Arm Speed |
|---|---|---|---|
| Spreading Product | Speed 1–2 | Zero (pad contact only) | Fast (2–3 in/sec) |
| Heavy Compounding | Speed 4–5 | Light to Moderate (5–10 lbs) | Slow (0.5–1 in/sec) |
| Finishing Polish | Speed 3–4 | Machine Weight Only | Moderate (1–1.5 in/sec) |
| Applying Liquid Wax/Sealant | Speed 2–3 | Machine Weight Only | Moderate (1.5–2 in/sec) |
Pad maintenance during paint correction
Clean your pad with a pad conditioning brush or compressed air after every single working section. Saturated foam loaded with spent compound and abraded clear coat cannot dissipate heat, leading to backing plate delamination.
Straight answers
Frequently Asked Questions
Answers based on the evidence and sources identified in this article.
Can you burn through car paint with a dual action polisher?
While significantly safer than rotary buffers, you can still burn paint on sharp body character lines, thin edges, or plastic bumper caps if you tilt the pad or linger on one spot. Keep the pad flat and tape delicate edges.
How many pads do you need to polish an entire car?
Plan on using at least 4 to 6 cutting pads and 3 to 4 finishing pads for a mid-size sedan. Swapping pads frequently prevents heat buildup and maintains consistent abrasive leveling.
Do you need to push down hard on a DA polisher?
No. Let the abrasives and machine oscillation do the work. Moderate pressure (about 5 to 8 lbs) is enough for defect correction; pushing too hard stalls rotation and slows cutting.
Where to buy
Recommended Gear in this Guide
DetailRig is reader-supported. Recommendations follow each page's evidence label (tested, used, or researched), and we never accept paid placement. When you buy through our links, we may earn an affiliate commission at no extra cost to you.
References & Sources
- Rupes BigFoot Polishing System: Technical Operation Manual and Pad Selection (rupes.com)
- Griot’s Garage: Random Orbital Polishing Handbook for Enthusiasts (griotsgarage.com)
- Meguiar’s Professional Products: Defect Removal Protocols and Test Spot Science (meguiars.com)

DetailRig Editorial
ContributorResearch publication
DetailRig Editorial publishes source-linked car-care explainers. These articles synthesize manufacturer instructions and clearly separate research from documented hands-on testing.