Table of Contents(6 sections)
A Headliner Is Not a Seat Cushion
The ceiling liner sits overhead among trim, wiring, handles, and sometimes airbag-related components. It should not be approached like a removable floor mat. Volvo's owner documentation has dedicated advice for fabric upholstery and ceiling liner, which is a better starting point than a universal internet recipe.
The practical goal is controlled surface cleaning: remove loose debris, limit moisture, avoid distorting the fabric, and leave no cleaner behind. A stain that changes the material, spreads, or returns may need professional assessment rather than more liquid.
Evidence status: researched
This guidance is based on vehicle and upholstery-care sources. DetailRig has not tested adhesive strength or stain removal across different headliner constructions.
Inspect Before You Touch the Stain
- Find the vehicle's fabric and ceiling-liner instructions, including any warnings around equipment and trim.
- Check whether the area is already loose, sagging, discolored, or water-damaged; cleaning cannot repair those conditions.
- Identify nearby handles, lights, microphones,visors, and trim so tools and moisture can be kept away from them.
- Test any manual-approved upholstery product in an inconspicuous area according to its label.
| Condition | Reasonable first step | Do not escalate to |
|---|---|---|
| Loose dust | Gentle dry removal with a clean suitable tool | Wet brushing that turns dust into muddy residue |
| Small fresh surface mark | Manual-approved cleaner applied sparingly by cloth | Pouring or spraying liquid across the ceiling |
| Large or old stain | Professional fabric assessment | Repeated soaking and forceful scrubbing |
| Sagging or delamination | Upholstery repair inspection | Treating loose material as ordinary dirt |
How to Clean a Small Area
Low-moisture headliner cleaning
4 stepsRemove dry soil
Gently remove loose dust without pressing debris into the fabric. Keep vacuum and brush contact light.
Prepare a compatible cloth
If a cleaner is approved, put a small amount on the cloth or use the product's specified method. The fabric should not become saturated.
Blot and lightly wipe
Work a limited area with minimal pressure. Avoid a stiff brush or a circular scrub that distorts the surface.
Remove residue and dry
Use the product-approved residue-removal method, then leave the area to dry with sensible ventilation. Do not aim concentrated heat at the liner.
Do Odors Require a Stronger Cleaner?
Not necessarily. Odor can involve seats, carpet, spills, the HVAC system, or smoke residue beyond the visible headliner. Saturating the ceiling may add a drying problem without removing the source. Identify the broader contamination first; persistent smoke or water damage warrants a more complete inspection.
What Counts as a Good Result?
A good result is an even, intact, dry liner with no new ring or changed texture. Complete removal of an old stain cannot be promised. If the fabric pills, changes color, loosens, or develops a tide mark, stop rather than widening the wet area.
Straight answers
Frequently Asked Questions
Answers based on the evidence and sources identified in this article.
Can I use a carpet extractor on a car headliner?
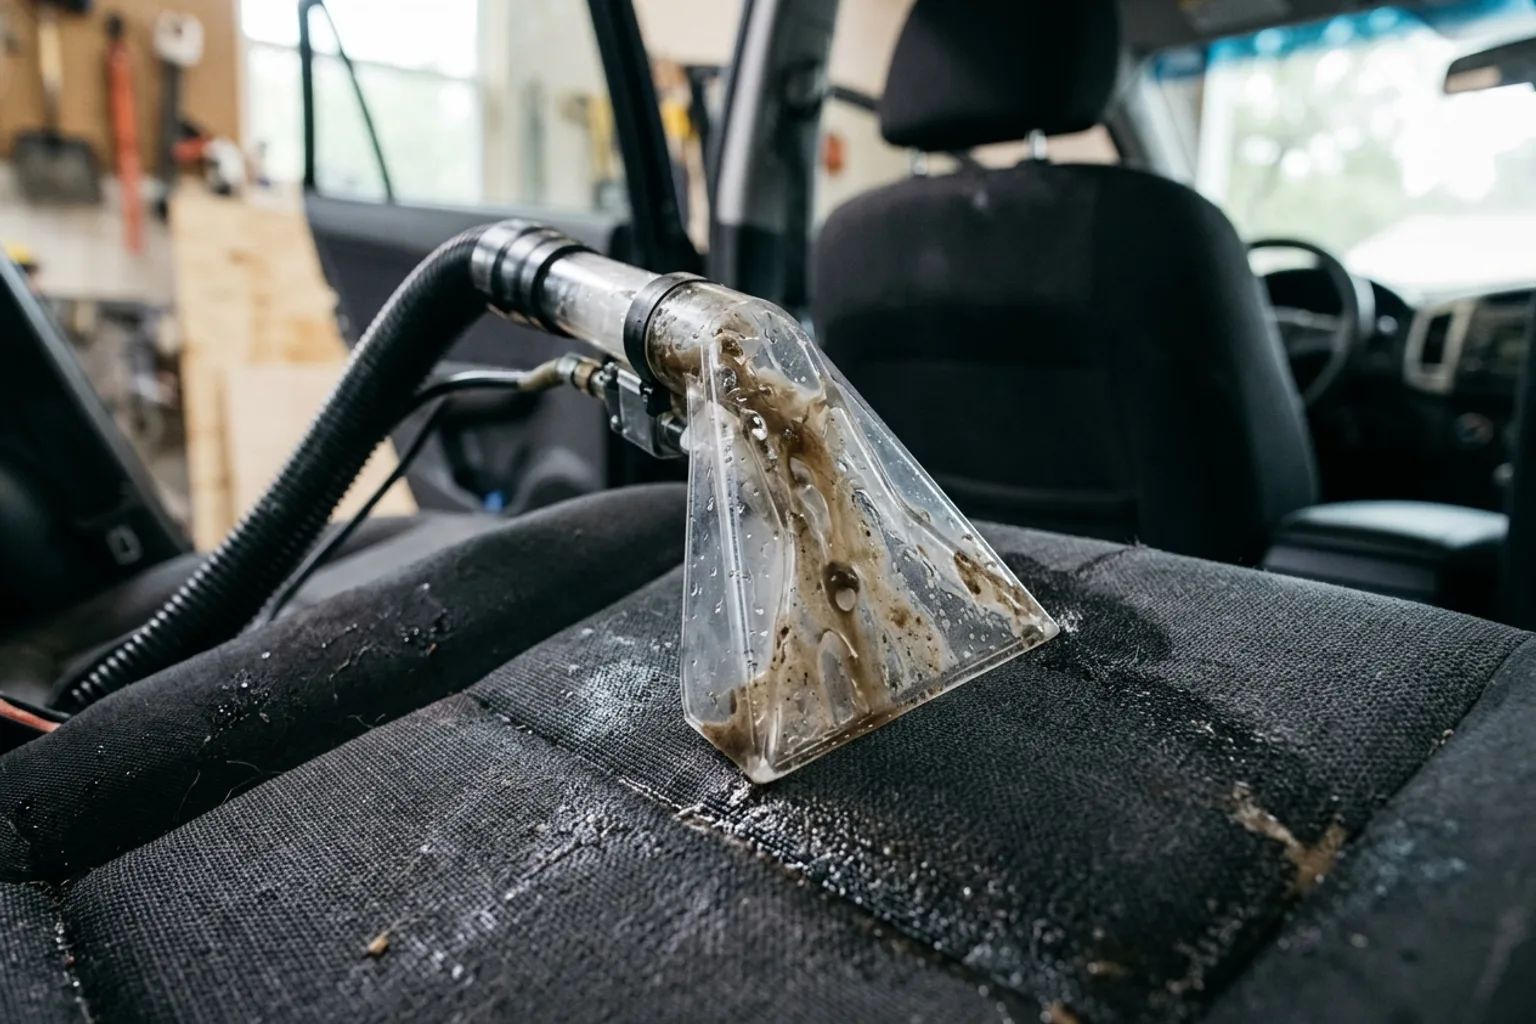
Do not assume so. Extraction can introduce more moisture than an overhead liner needs, and suitability depends on the vehicle and equipment. Follow the vehicle instructions or consult an upholstery professional.
Why did my headliner develop a ring after cleaning?
Dissolved soil or cleaner can move as moisture dries, and overwetting can spread the affected area. Do not keep adding liquid; allow the material to dry and seek fabric-specific advice if the mark remains.
Can a steam cleaner fix a stained headliner?
Steam still introduces moisture and heat, and it is not a universal headliner-safe method. Use only a method permitted for the exact material and assembly.
Where to buy
Recommended Gear in this Guide
Active 2.0 1800 PSI 2.0 GPM Pressure Washer
Our lab-tested standard for safe automotive flow and pressure.
DetailRig is reader-supported. Recommendations follow each page's evidence label (tested, used, or researched), and we never accept paid placement. When you buy through our links, we may earn an affiliate commission at no extra cost to you.
References & Sources

DetailRig Editorial
ContributorResearch publication
DetailRig Editorial publishes source-linked car-care explainers. These articles synthesize manufacturer instructions and clearly separate research from documented hands-on testing.