Table of Contents(5 sections)
Do Not Turn Bug Removal Into Dry Abrasion
Insect residue can be stubborn, but scraping at a dry patch adds uncontrolled friction and may drag surrounding grit across the finish. Tesla and Ford both advise prompt removal of insects and similar contamination. Begin with a rinse and a compatible chemical process, not a rigid scraper or an aggressive household pad.
Evidence status: researched
The workflow below follows vehicle-care guidance and one clearly identified bug-remover label. It does not claim DetailRig tested removal speed, paint safety, or results on every finish.
| Condition | First move | Avoid |
|---|---|---|
| Fresh localized splatter | Rinse and treat with a compatible product | Wiping a dry gritty area with force |
| Older widespread residue | Work manageable sections under label conditions | Soaking the entire vehicle and losing track of dwell |
| Residue near sensors or special trim | Check vehicle and product restrictions | Assuming all exterior materials share one cleaner tolerance |
| Mark remaining after removal | Inspect whether it is residue or a finish change | Escalating immediately to abrasive polishing |
A Label-Led Bug-Removal Routine
Remove insect residue with controlled dwell
5 stepsCool and rinse the area
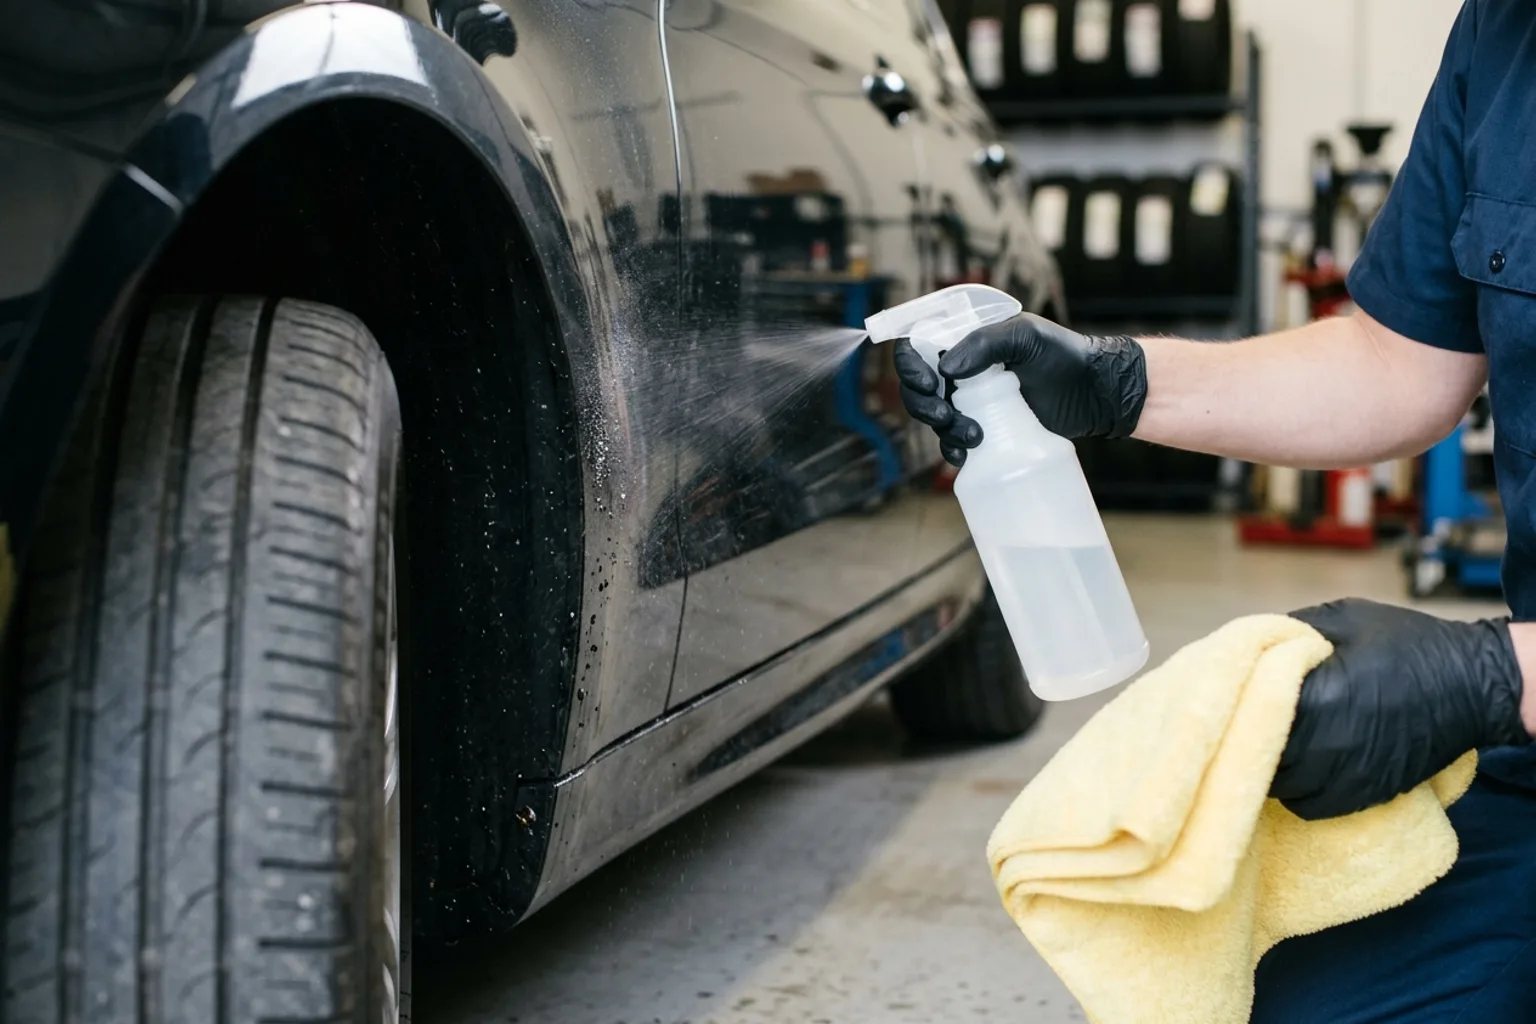
Work out of direct sun on a cool surface and rinse loose grit. Check the vehicle's care instructions for special finishes or equipment.
Read the exact dwell
Use the bug remover's current label rather than a generic number. CARPRO BugOut states an initial 5–30 second dwell for insect stains and says not to exceed five minutes.
Apply to a manageable area
Apply as directed so you can observe and rinse the section. Do not let the product dry; BugOut's instructions also say to avoid direct sun.
Agitate only as needed
If the label permits, use a clean microfiber or specified tool with light contact. BugOut describes microfiber agitation as needed, not unlimited scrubbing.
Remove all residue
Rinse thoroughly according to the product directions and inspect after the area is clean. Repeat a permitted process rather than extending dwell indefinitely.
Why You Should Not Copy the Five-Minute Maximum
The five-minute figure above is an upper limit stated for BugOut, not a target and not an instruction for every remover. Another product may require a much shorter or different process. The useful habit is to read the exact label, keep the section manageable, and make “do not dry” an operational constraint.
- Do not use a razor, abrasive sponge, or dry paper towel on painted bug residue.
- Do not mix bug remover with another chemical to make it stronger.
- Do not leave residue around emblems, grilles, lights, or panel edges after rinsing.
- Do not assume a cleaner safe on paint is suitable for every sensor, wrap, or trim material.
What If a Mark Remains?
A clean but visibly changed area may no longer be simple surface residue. Stop repeating chemical applications and assess the finish. Photograph the concern in neutral light and seek paint-specific advice if needed. Abrasive correction is a different decision with its own test-spot requirements, not the final step of every bug wash.
After future trips, inspect high-impact areas promptly. A gentle timely cleanup is easier to control than waiting and then compensating with longer dwell or harder scrubbing.
Straight answers
Frequently Asked Questions
Answers based on the evidence and sources identified in this article.
How long can bug remover stay on car paint?
Use the exact product label. CARPRO BugOut states 5–30 seconds initially and no more than five minutes, with no drying. Those figures must not be copied to other chemicals.
Can I use a magic eraser on bug splatter?
An abrasive household pad is not a careful default for automotive finishes. Start with rinsing and a compatible bug-removal product with light permitted agitation.
Why does the bug mark remain after cleaning?
It may be a change in the finish rather than removable residue. Stop escalating chemical dwell and obtain paint-specific inspection before considering polishing.
Where to buy
Recommended Gear in this Guide
Active 2.0 1800 PSI 2.0 GPM Pressure Washer
Our lab-tested standard for safe automotive flow and pressure.
DetailRig is reader-supported. Recommendations follow each page's evidence label (tested, used, or researched), and we never accept paid placement. When you buy through our links, we may earn an affiliate commission at no extra cost to you.
References & Sources

DetailRig Editorial
ContributorResearch publication
DetailRig Editorial publishes source-linked car-care explainers. These articles synthesize manufacturer instructions and clearly separate research from documented hands-on testing.